Website access for guests
The URL is: https://www.pinnacle-destinations.com
If you share this link, guests can click on it and go directly to the site.
Or they can type in pinnacle-destinations into the search engine field.
Or they can scan this QR code with their phone:

4. You can save this QR or screenshot it so that guests can scan it from your device.
How to edit Text
Log in to the website.
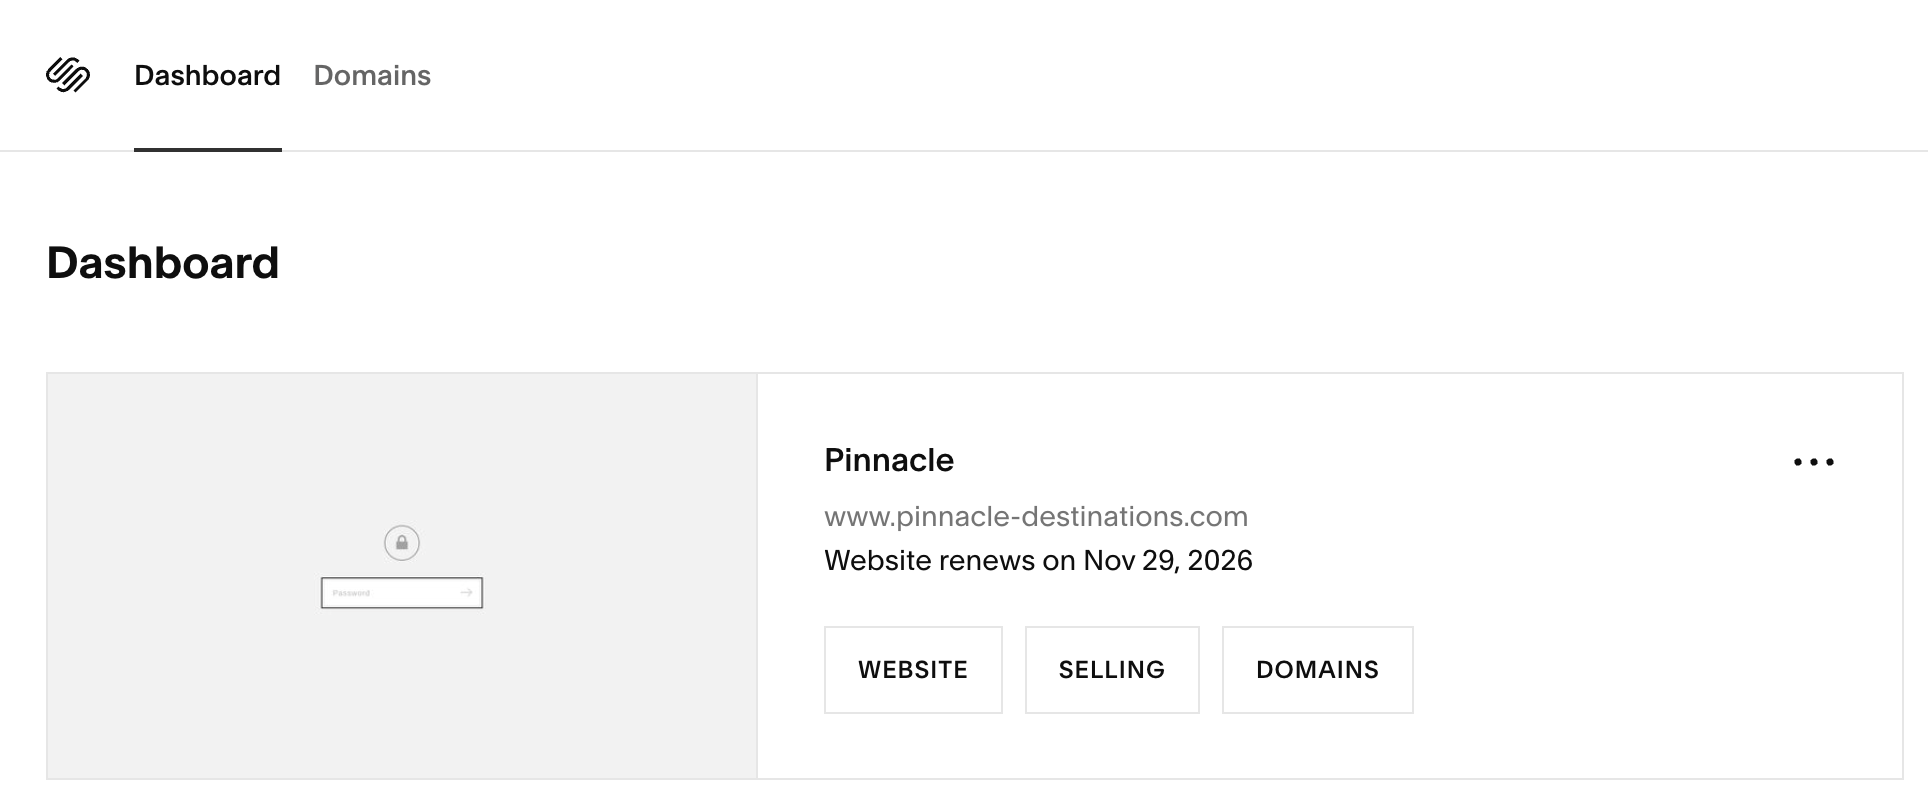
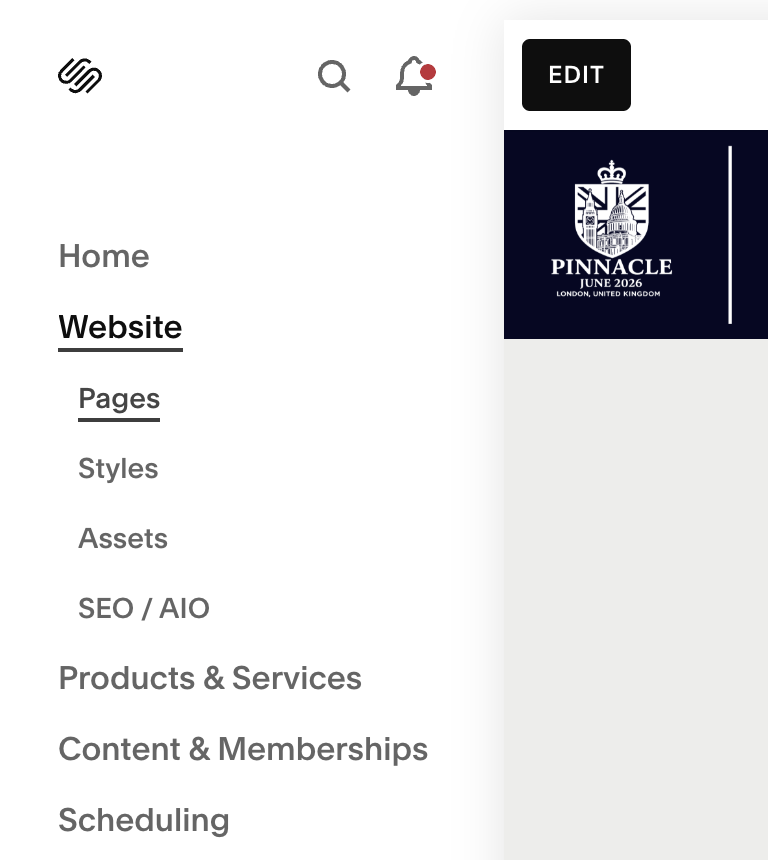
Go to Dashboard, click on Website next to Selling and Domains
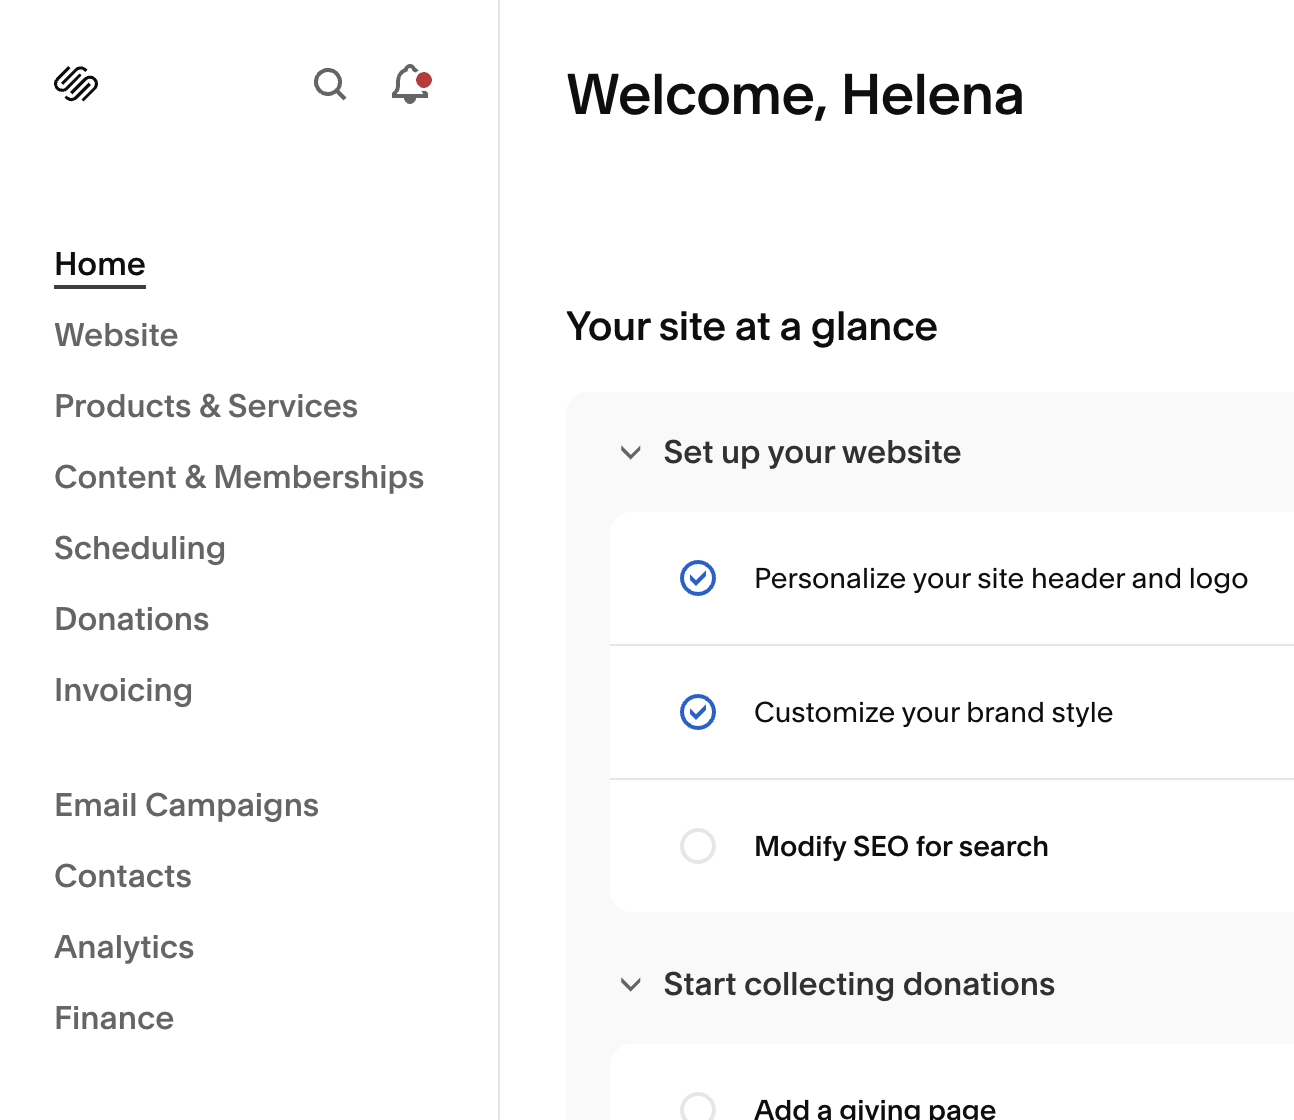
3. Click on Website on left-hand side under Home
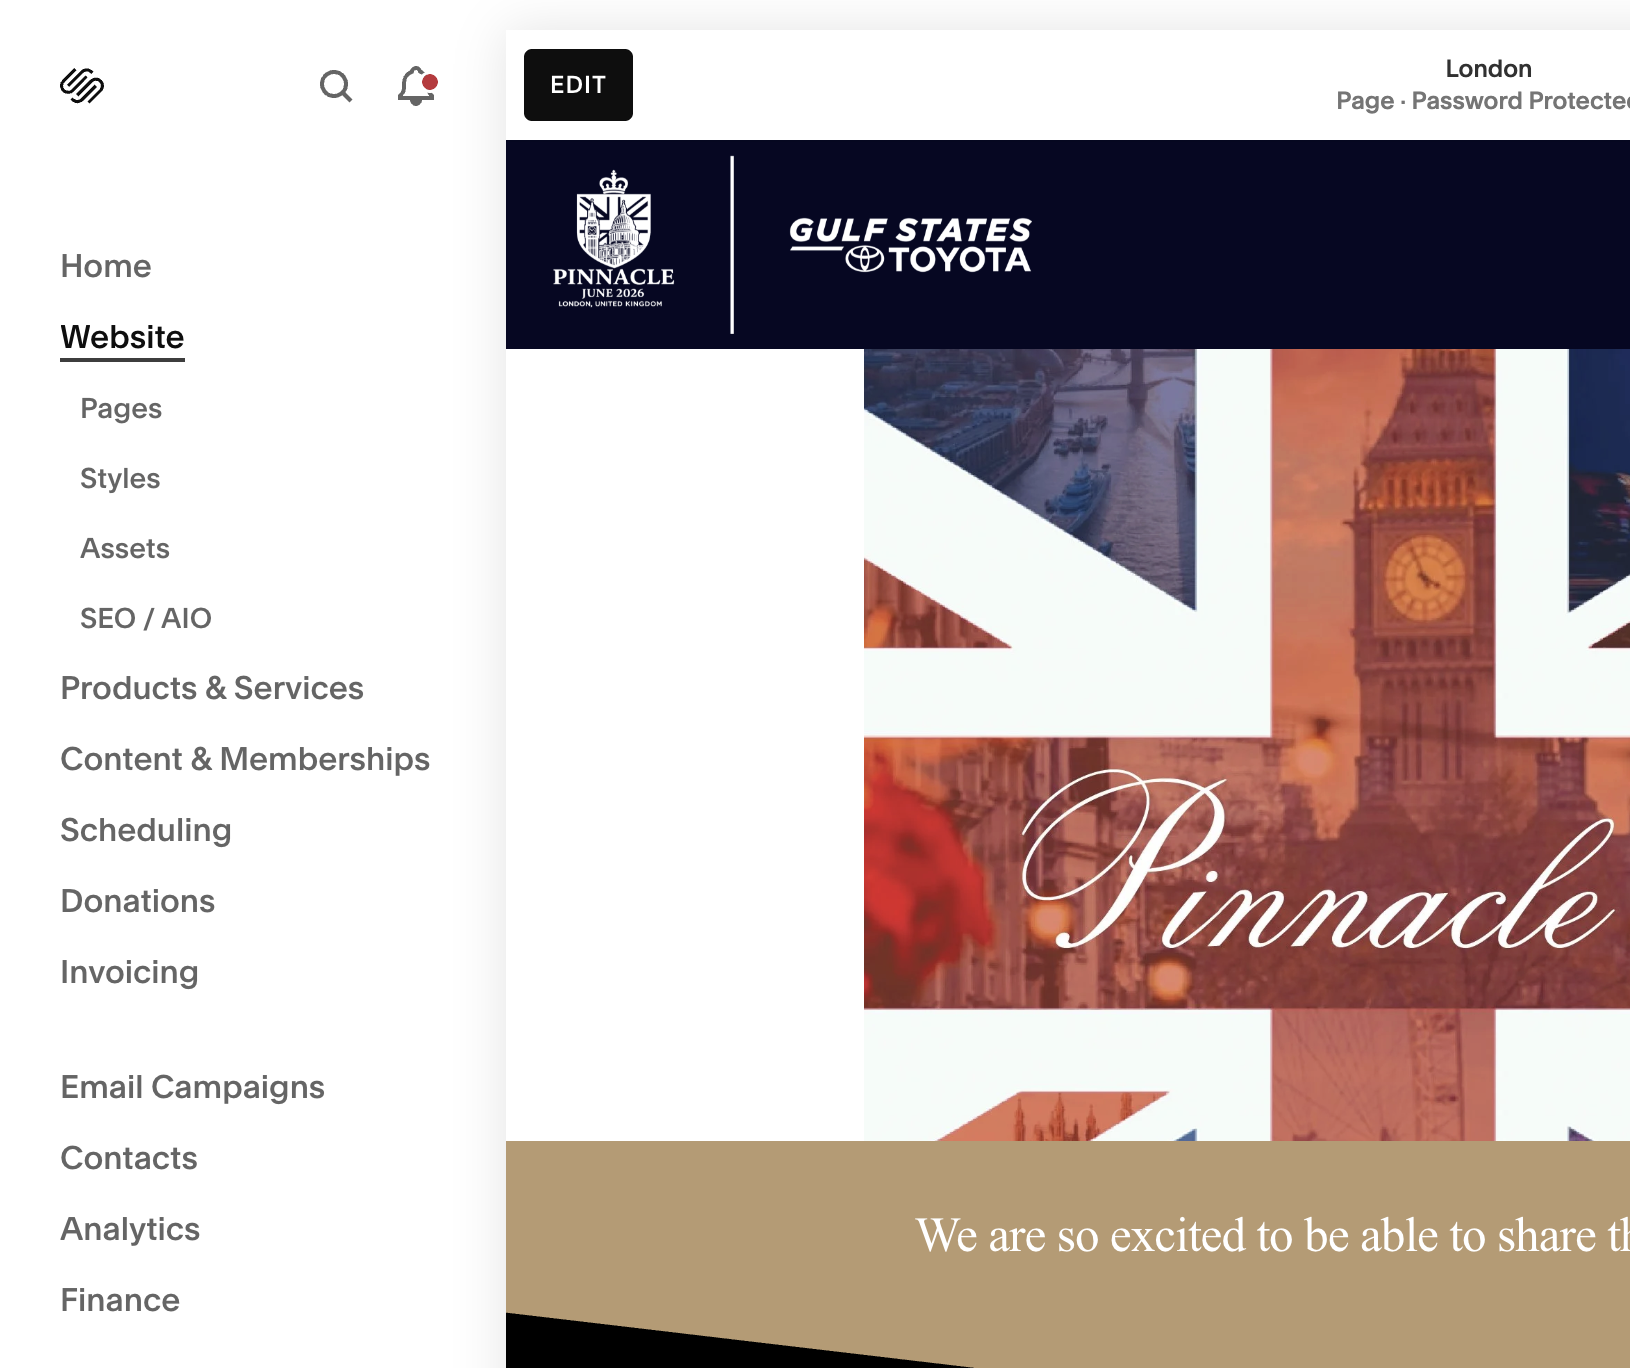
4. Click on Pages, then click on the page you wish to access, then click on the Edit Button at the top left of the site screen
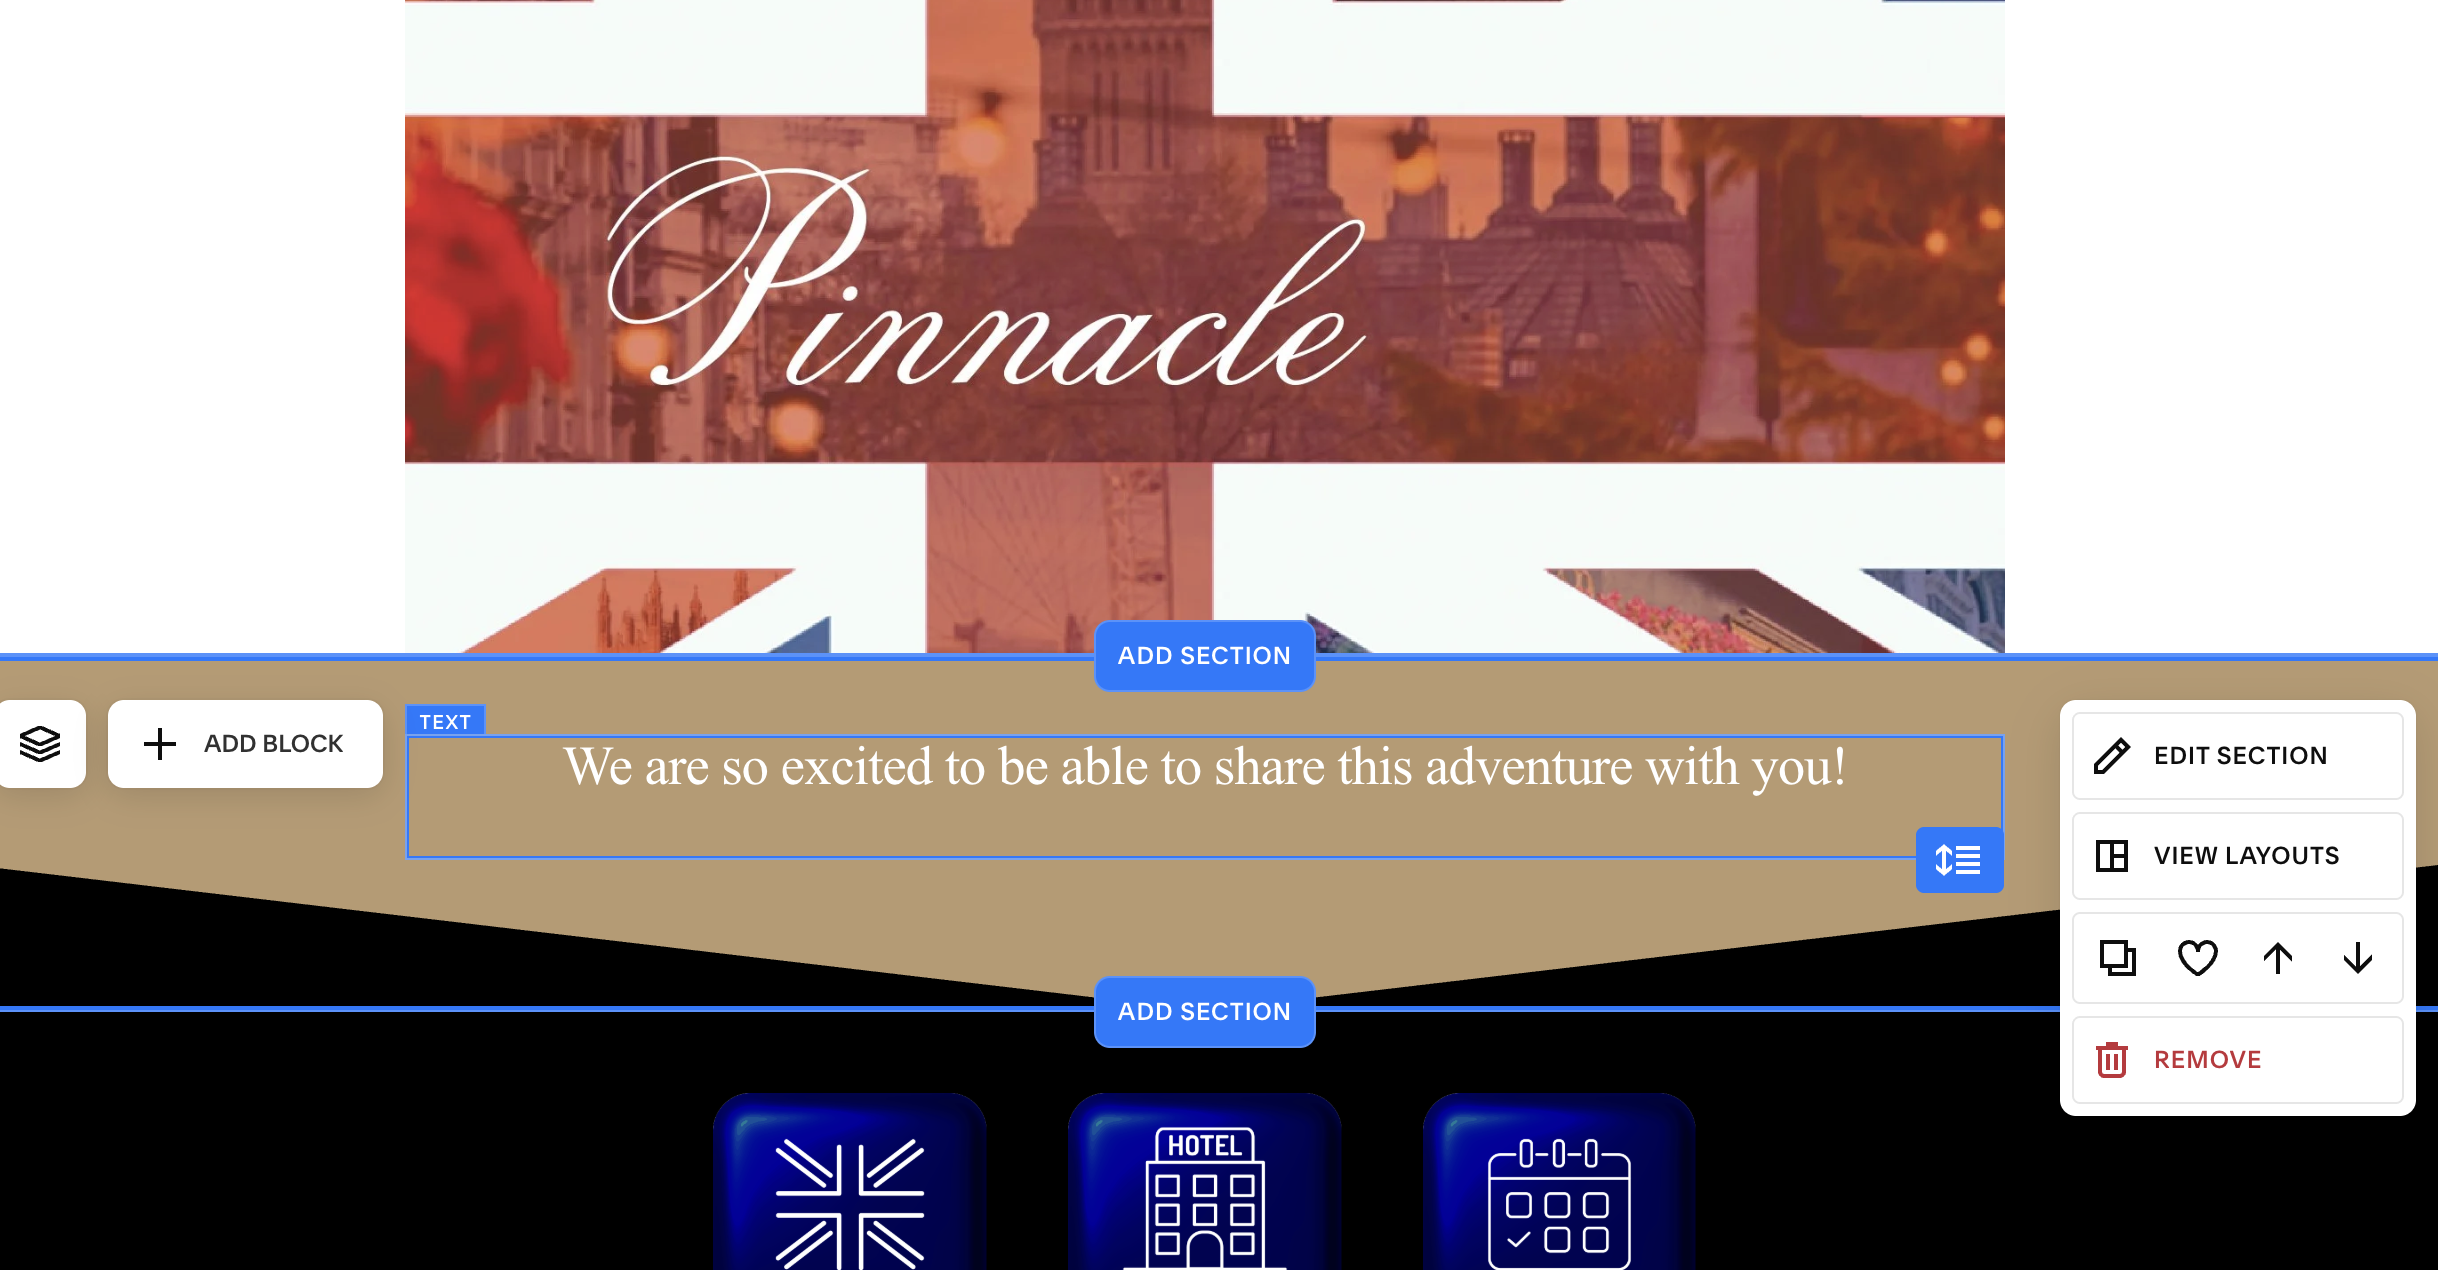
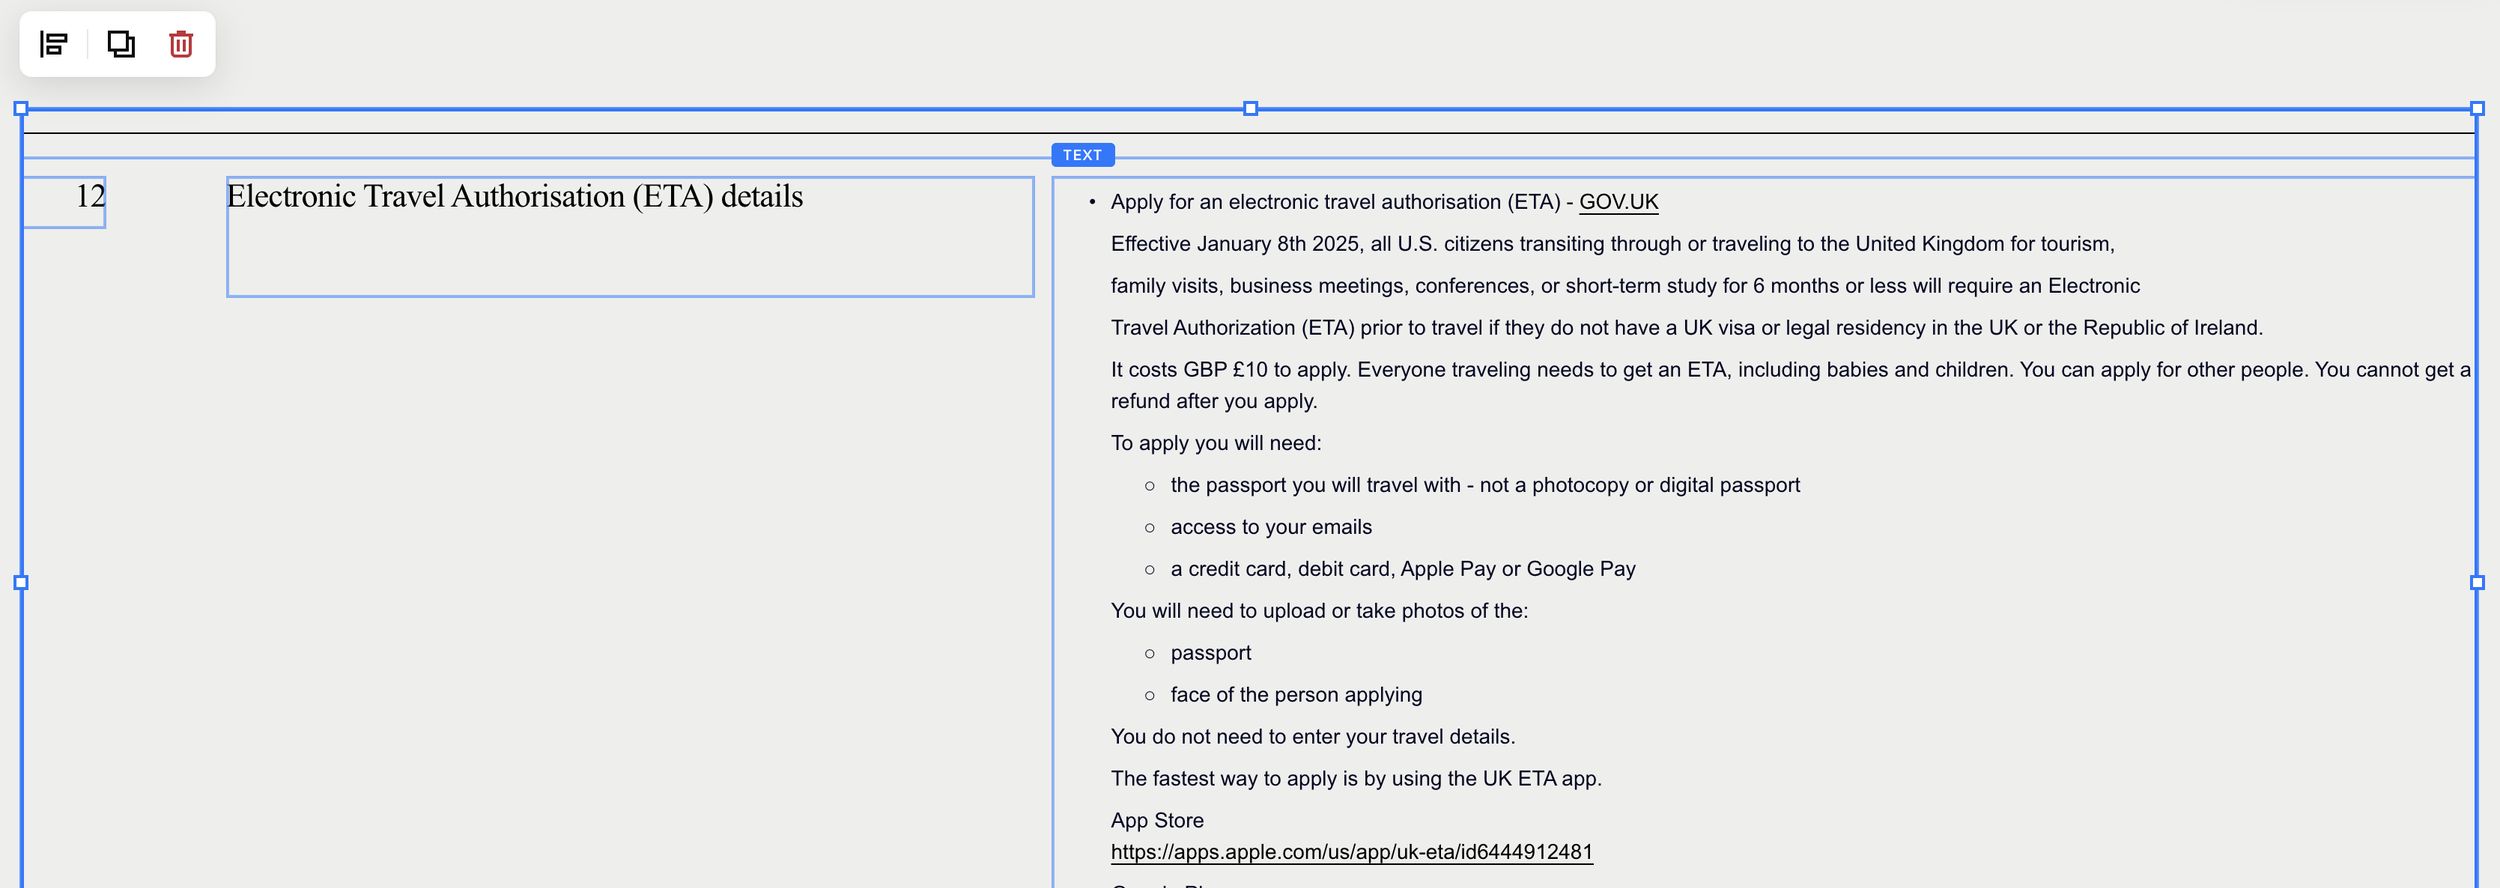
5. Scroll down to the text, click on it.
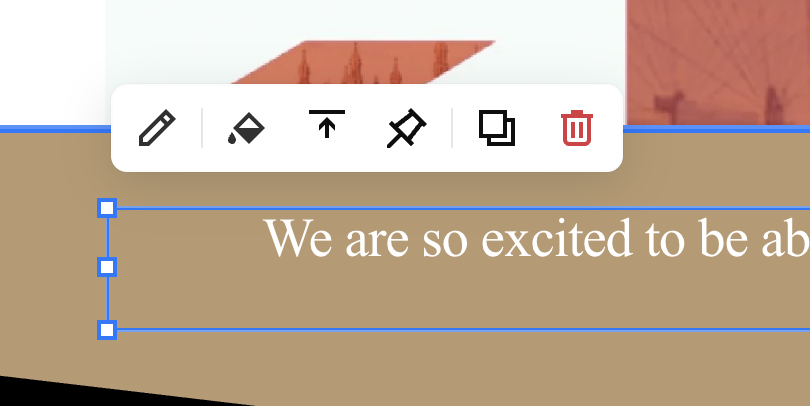
6. Click on the pencil icon to edit the text.
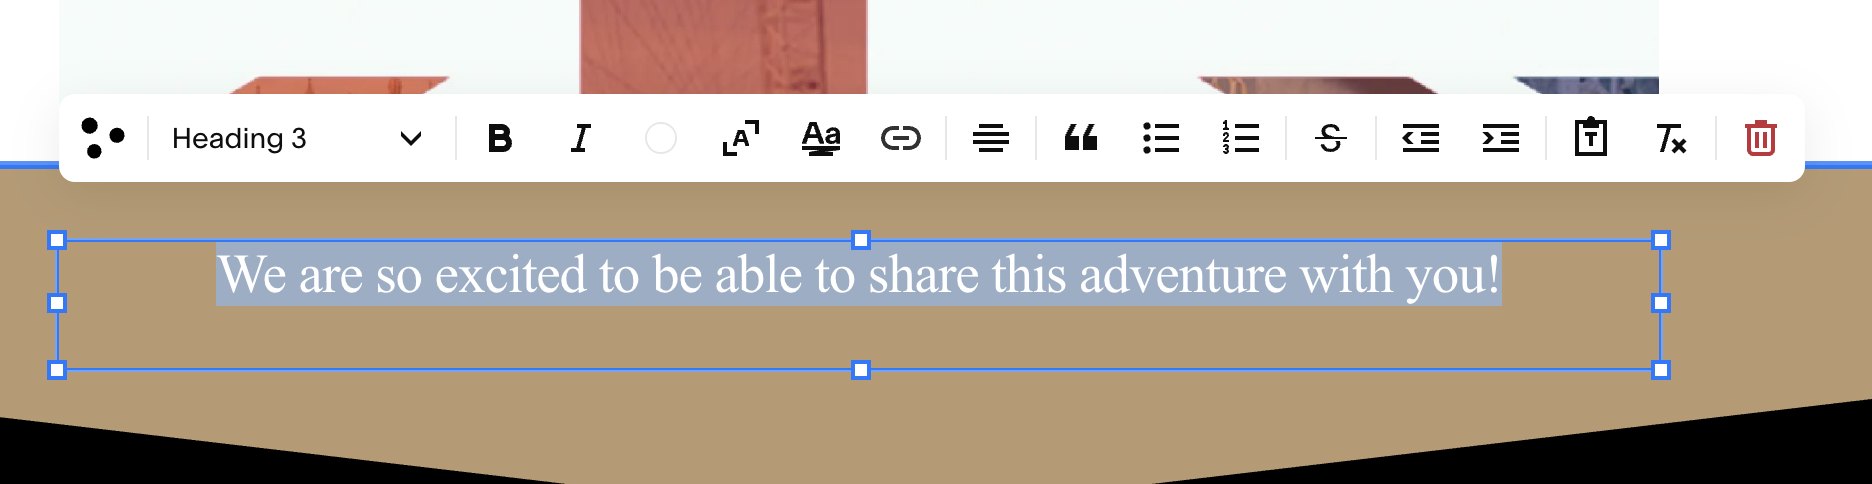
7. An editing bar will pop up above the type box. This welcome type type should be Heading 3. Other type should be other choices from the drop down menu, mainly Paragraph 1 or Paragraph 2. As you type, the type box will expand accordingly, or reduce accordingly, so you don’t need to change the actual box the type is in. Once edits are complete, in the upper left hand corner, click Save then Exit.
How to edit the Guest List
Log in to the website.
Go to Dashboard, click on Website next to Selling and Domains
3. Click on Website on left-hand side under Home
4. When site comes up, click on Pages in the left-hand column.
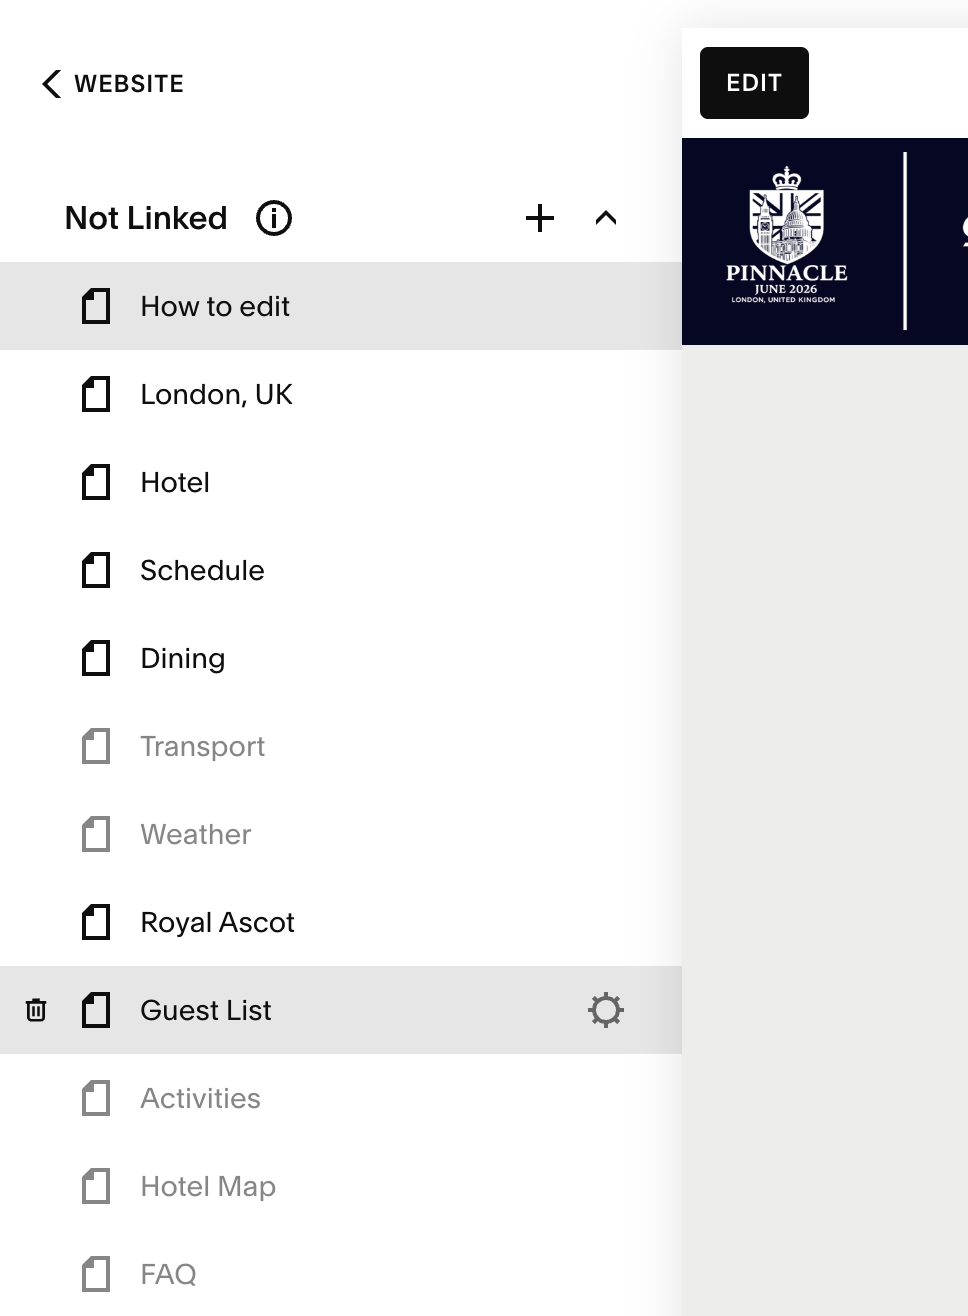
5. Still in the left-hand column, click on the page you wish to edit - in this case, Guest List.
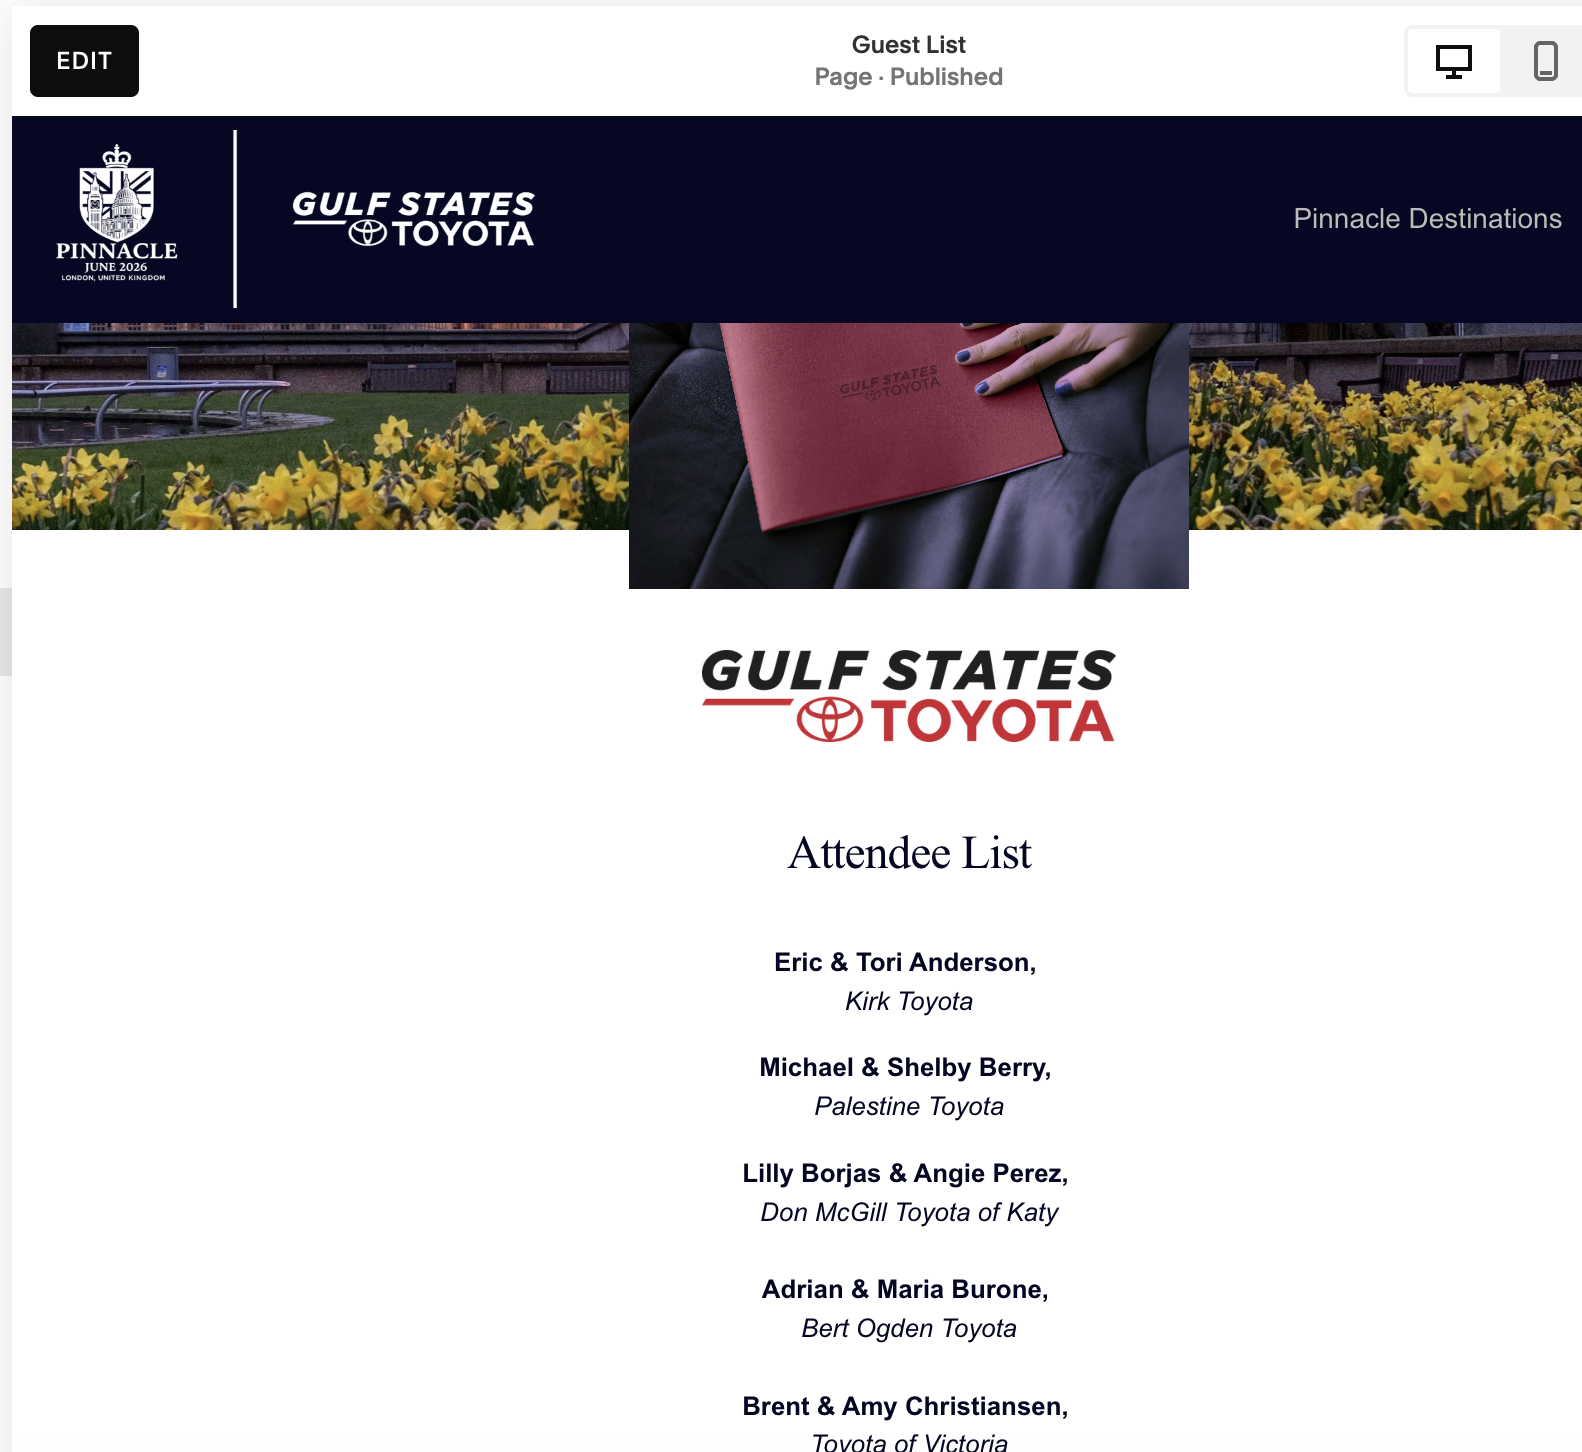
6. Click on the Edit Button in the upper left-hand corner.
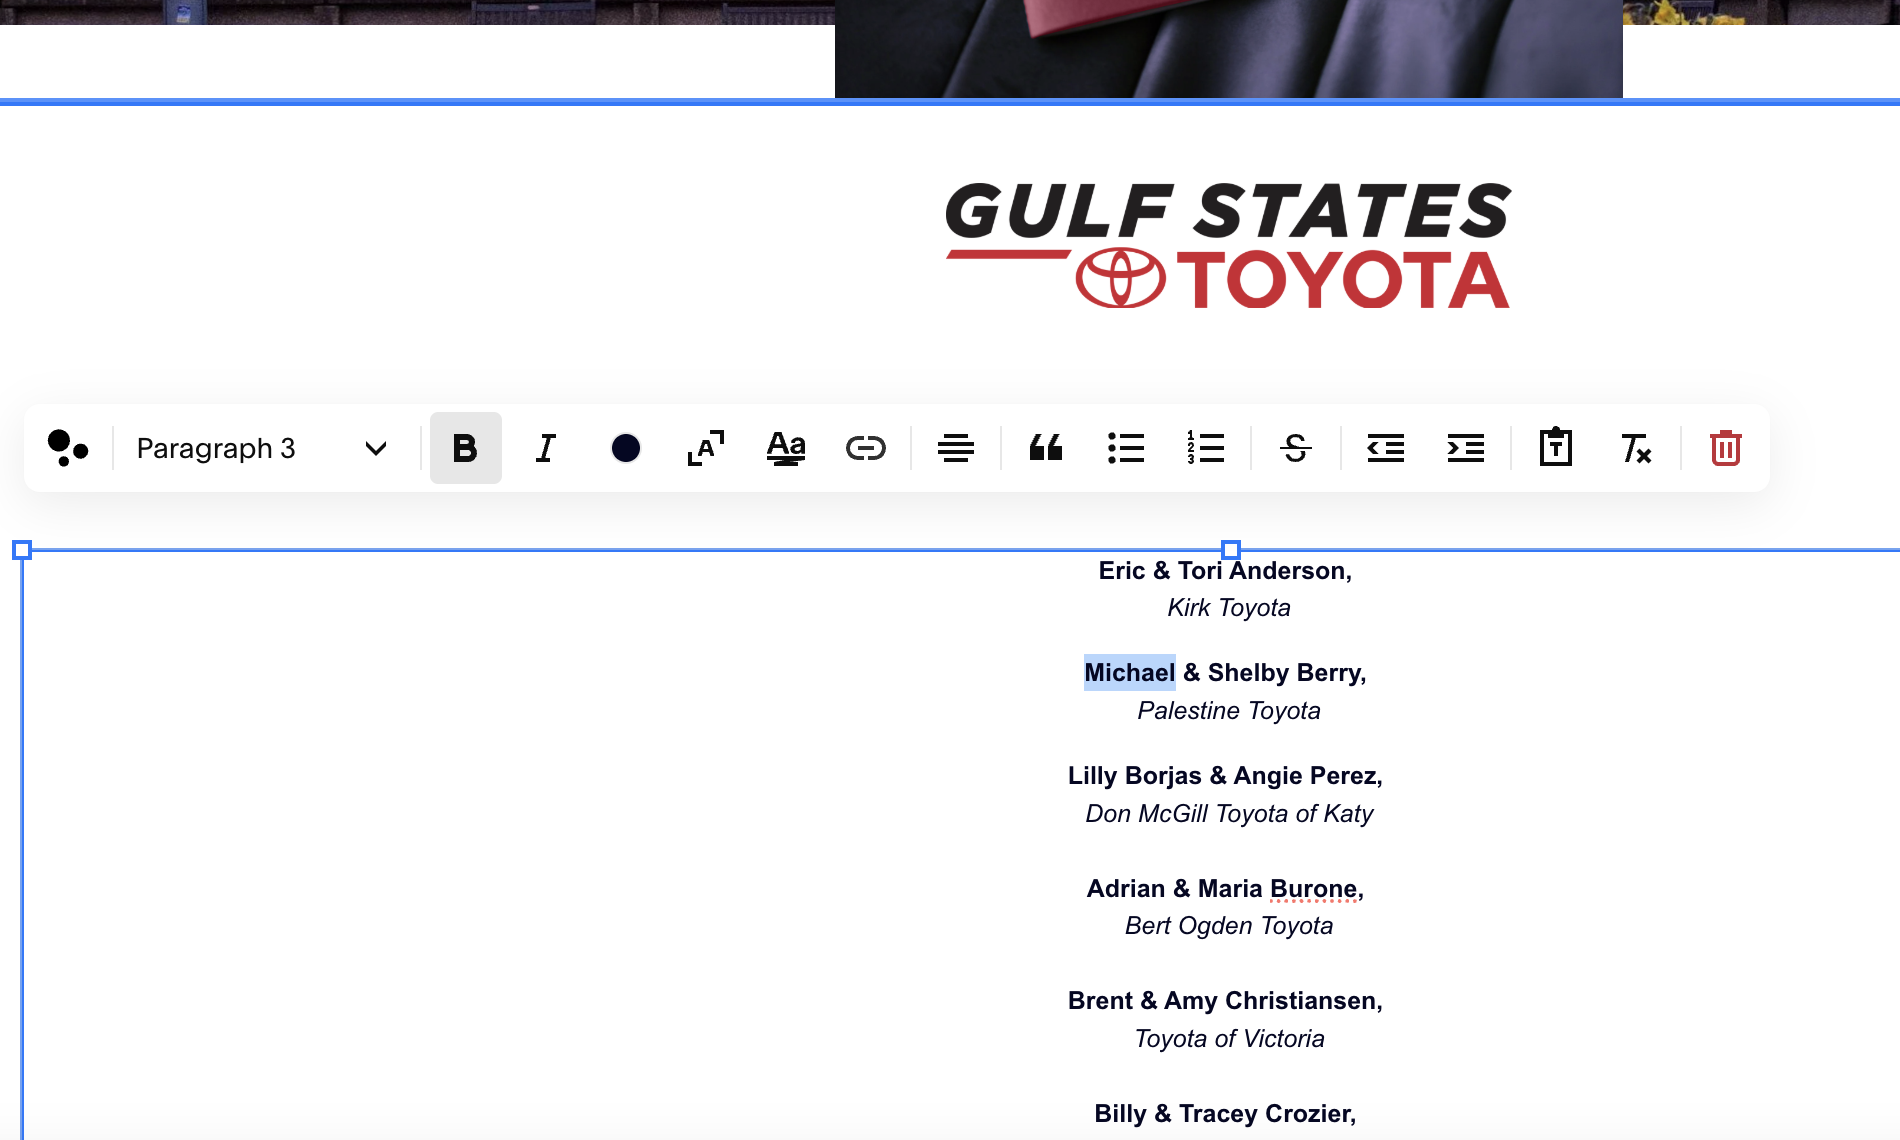
7. Scroll down to the guest list and click on the pencil icon. Click on the text you wish to edit. An editing bar will pop up above the type box. This type should be Paragraph 3, Bold and Italic. Between names and dealership, hit Shift-Return for a single spaced break. Between dealership and next entry, hit Return for a larger spaced break. As you type, the type box will expand accordingly, or reduce accordingly, so you don’t need to change the actual box the type is in. Once edits are complete, in the upper left hand corner, click Save then Exit.
How to add a live link
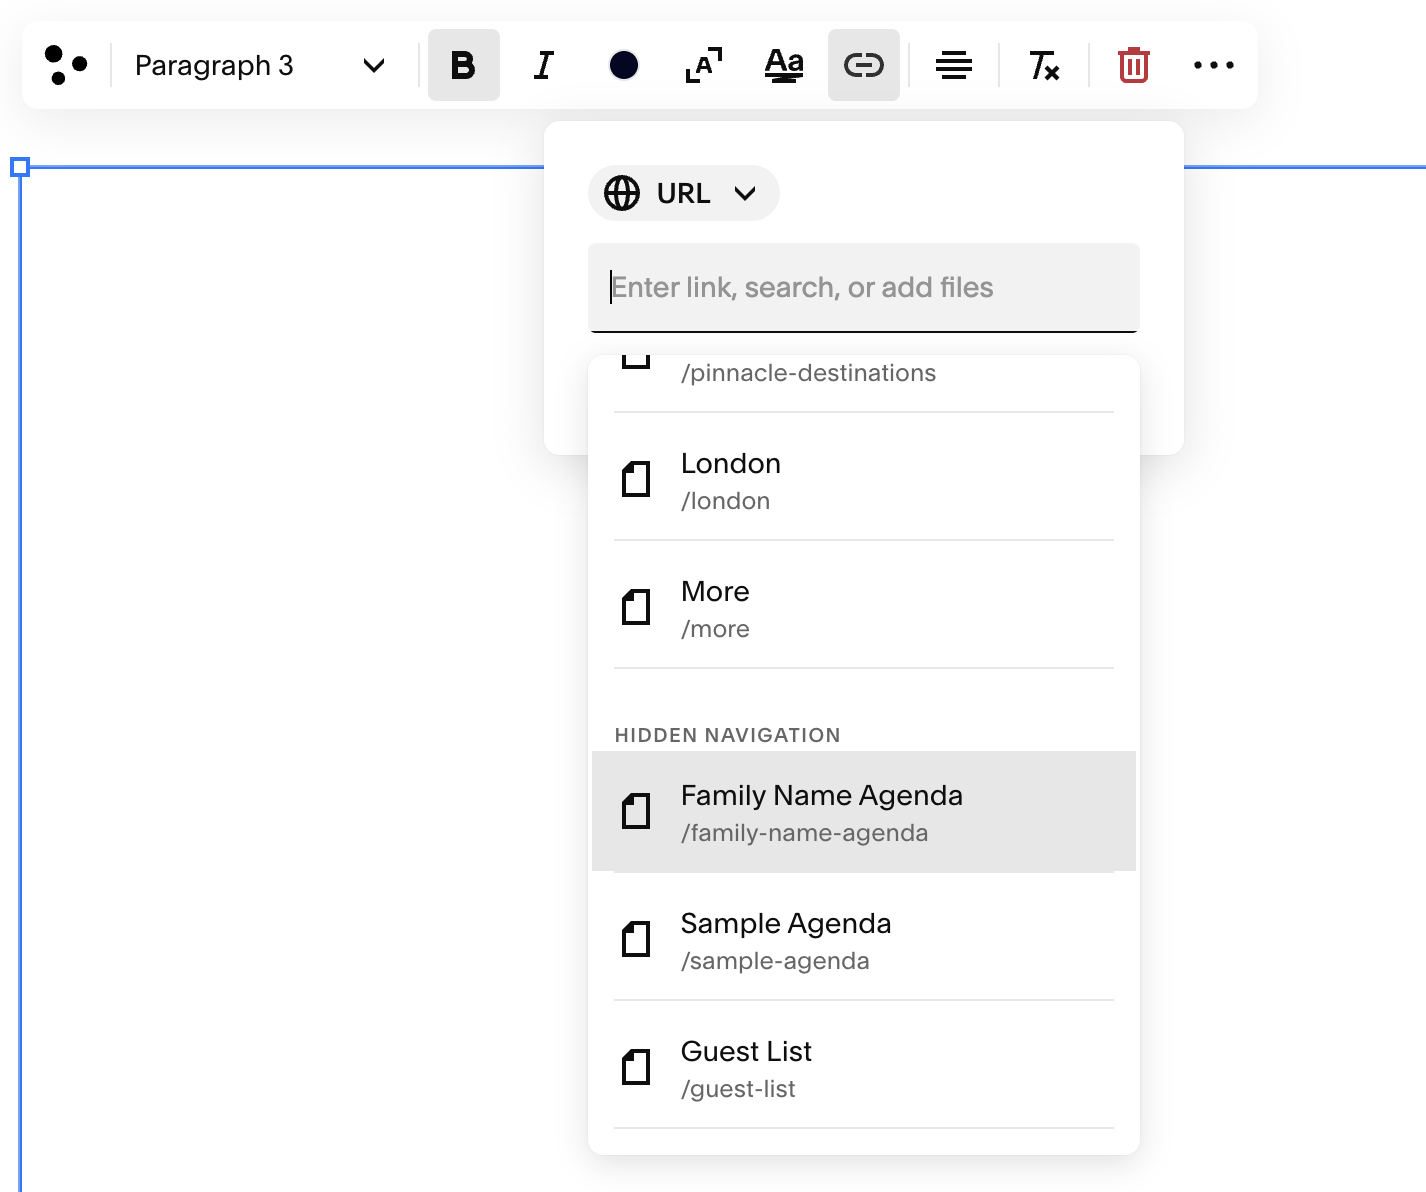
Select the type you wish to turn into a link. You may need to double-click in the text box to make it easier to select.
A long toolbox should appear above it. Click on the “link” icon.
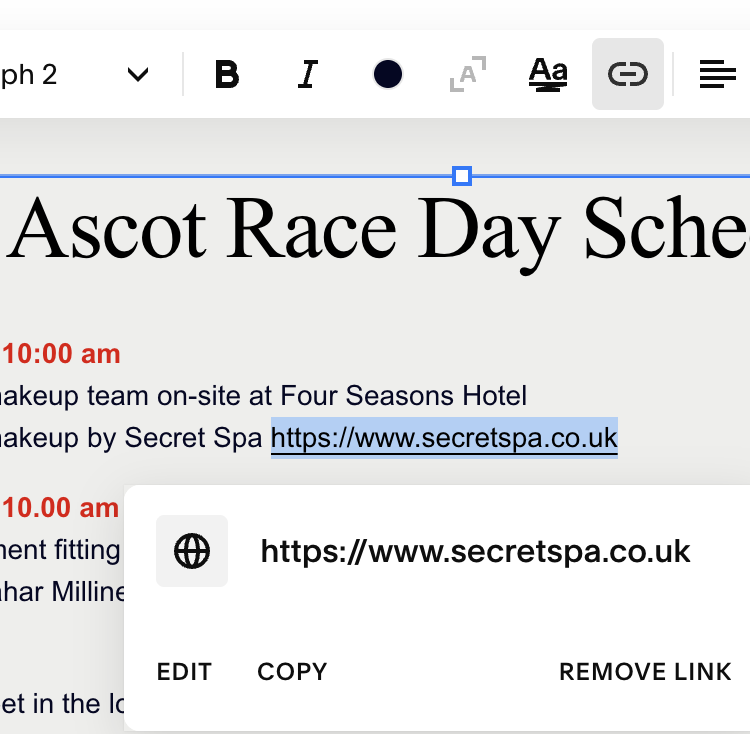
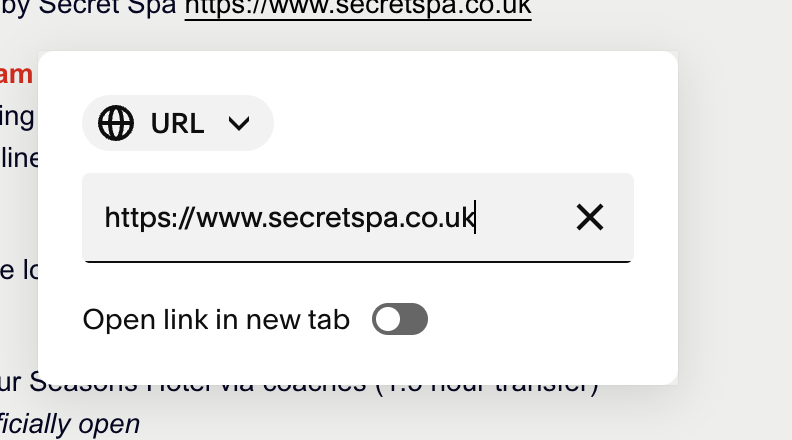
3. A new box should pop up. If there is already a link assigned, you can click “Remove Link” or just “Edit.”
4. In the grey box under URL, type or paste the url you would like the link to take you to. If the link goes to a website that is not the Pinnacle site, toggle “Open link in new tab” on (green) so that guests do not lose their place in the Pinnacle site. Once edits are complete, in the upper left hand corner, click Save then Exit.
How to add a Guest Agenda
Log in to the website.
Go to Dashboard, click on Website next to Selling and Domains
3. Click on Website on left-hand side under Home
4. When site comes up, click on Pages in the left-hand column.
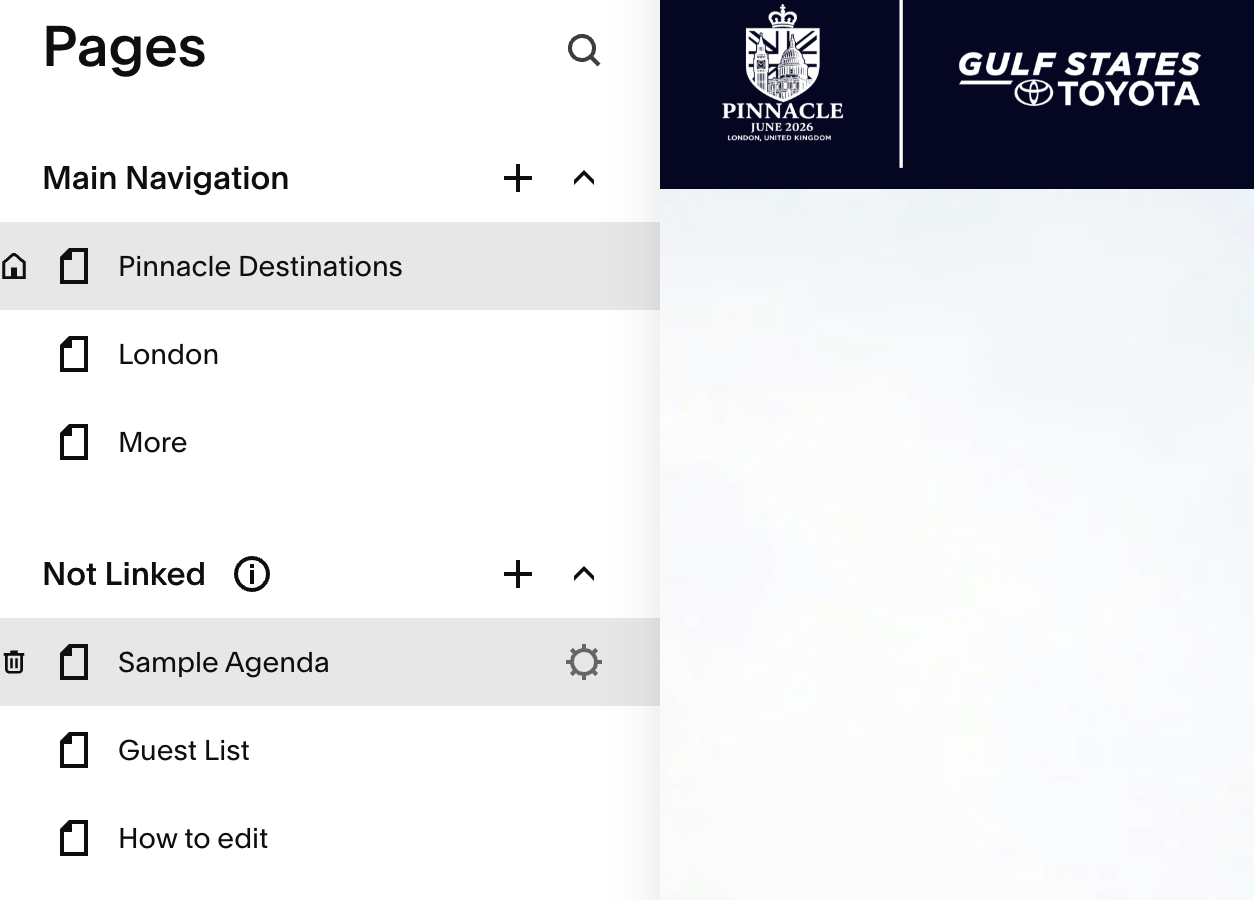
5. Still in the left-hand column, click on the page you wish to edit - in this case, Sample Agenda, then click on the gear icon to the right.
6. A Dialog box will pop up. Scroll down to Duplicate Page and click on that. Click Confirm in the resulting pop-up.
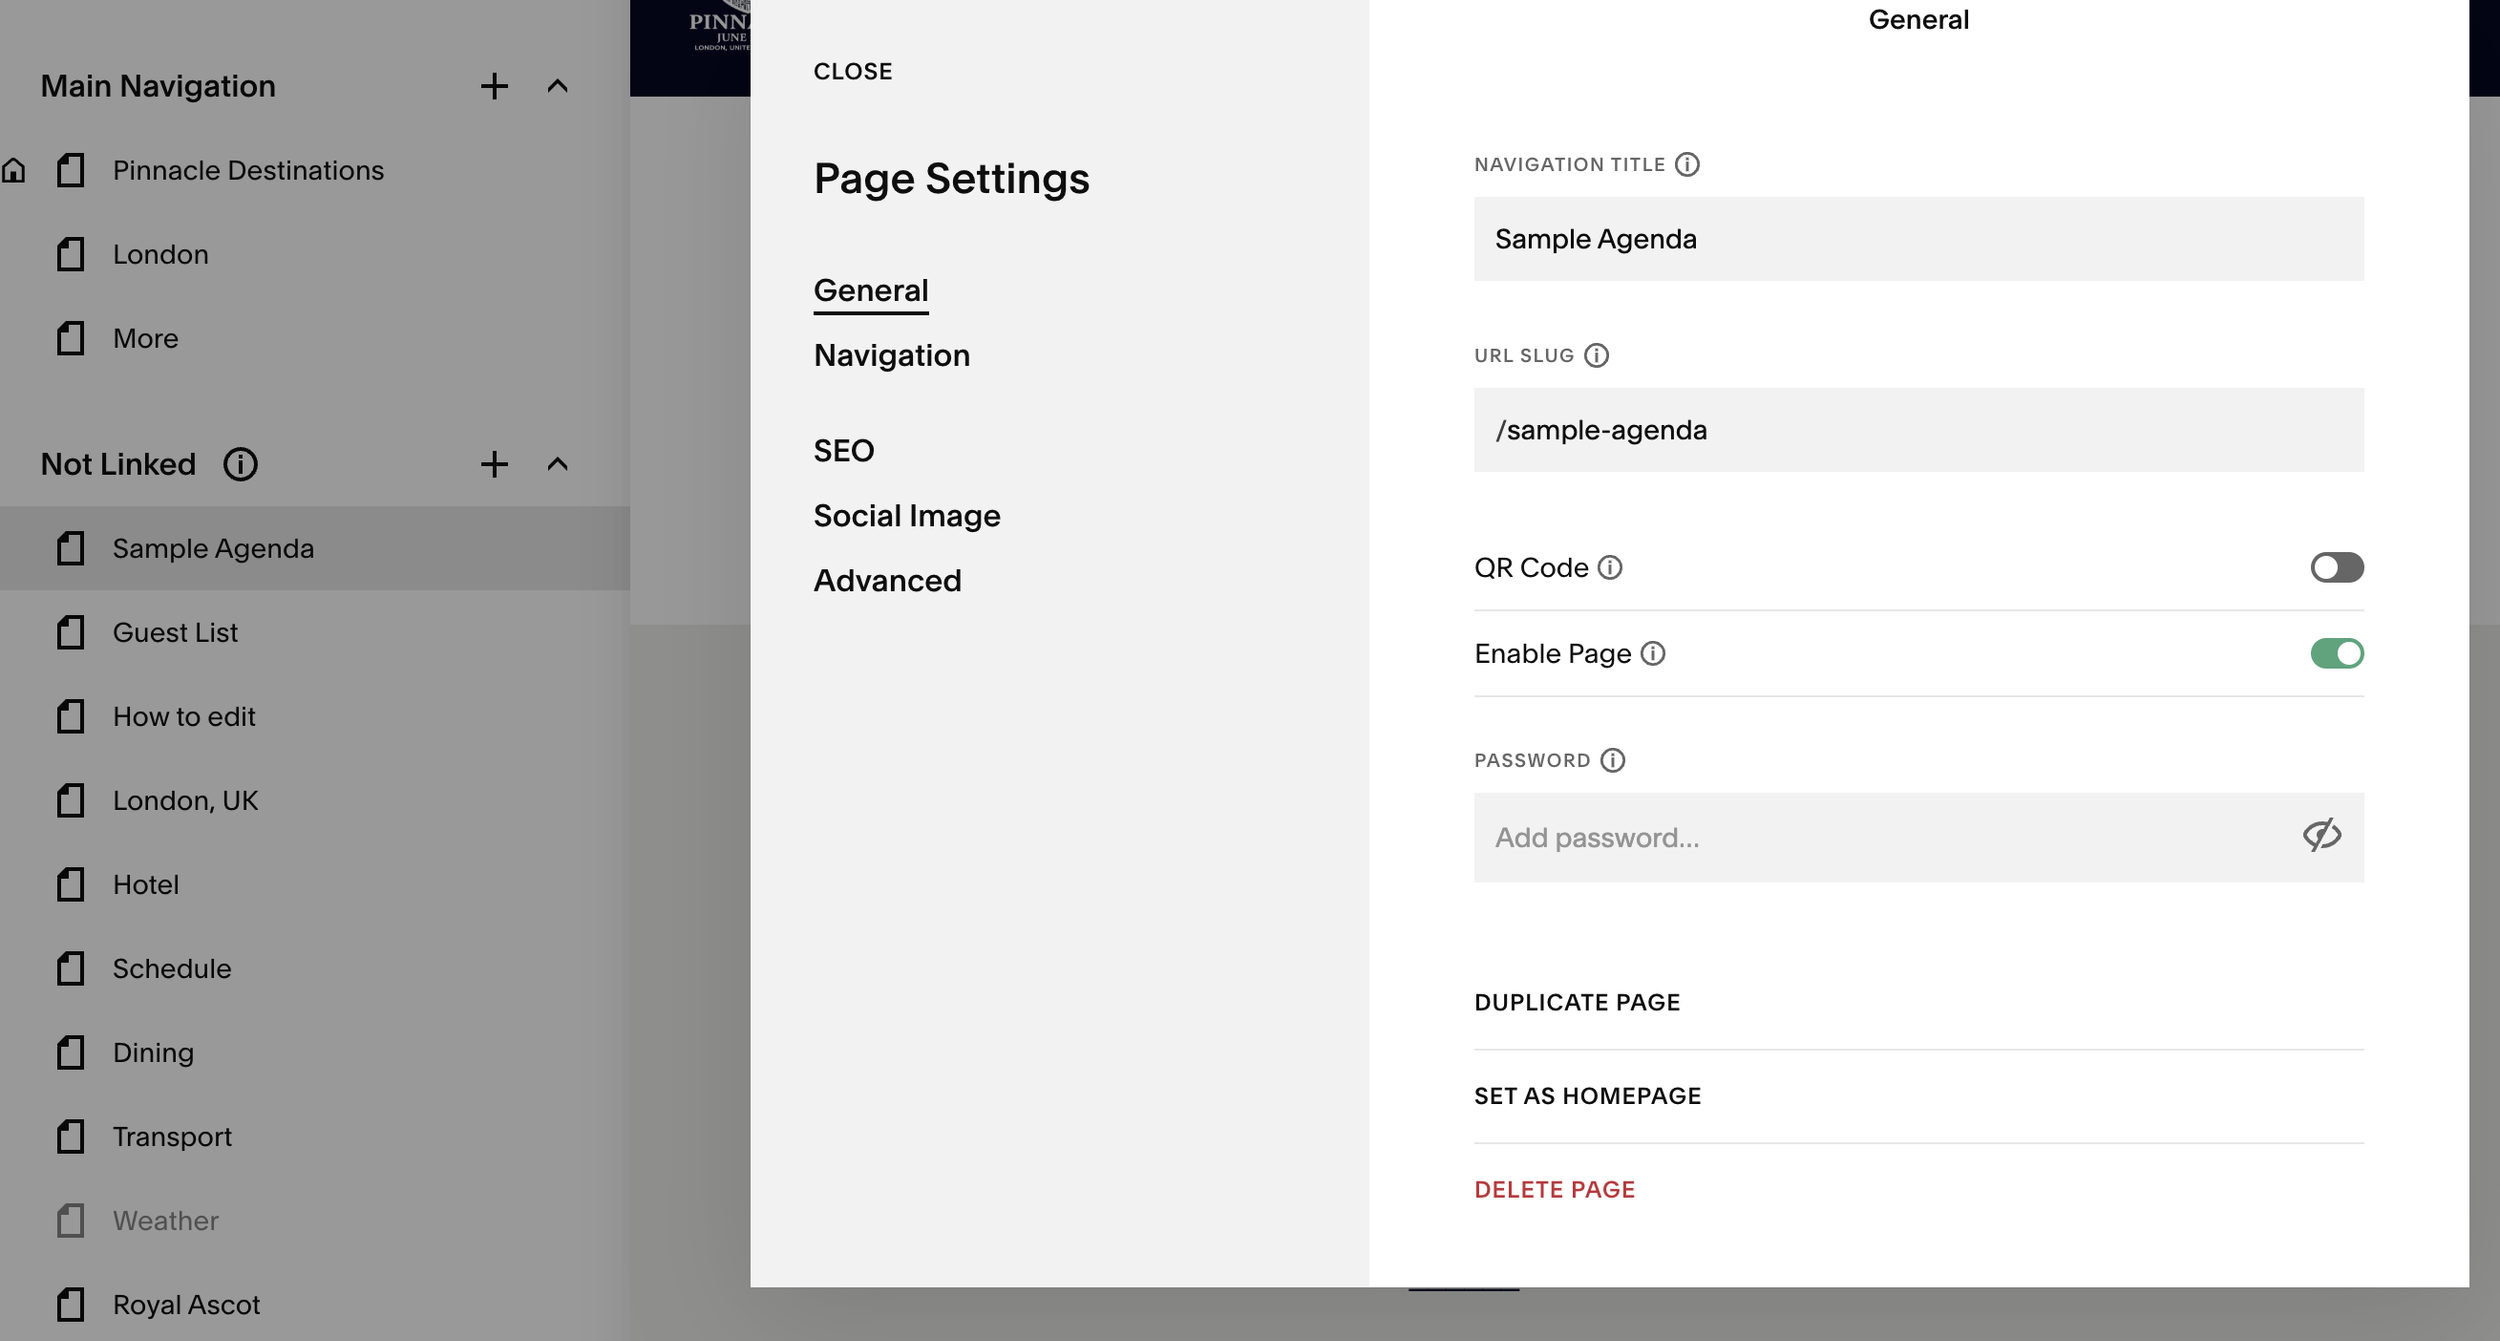
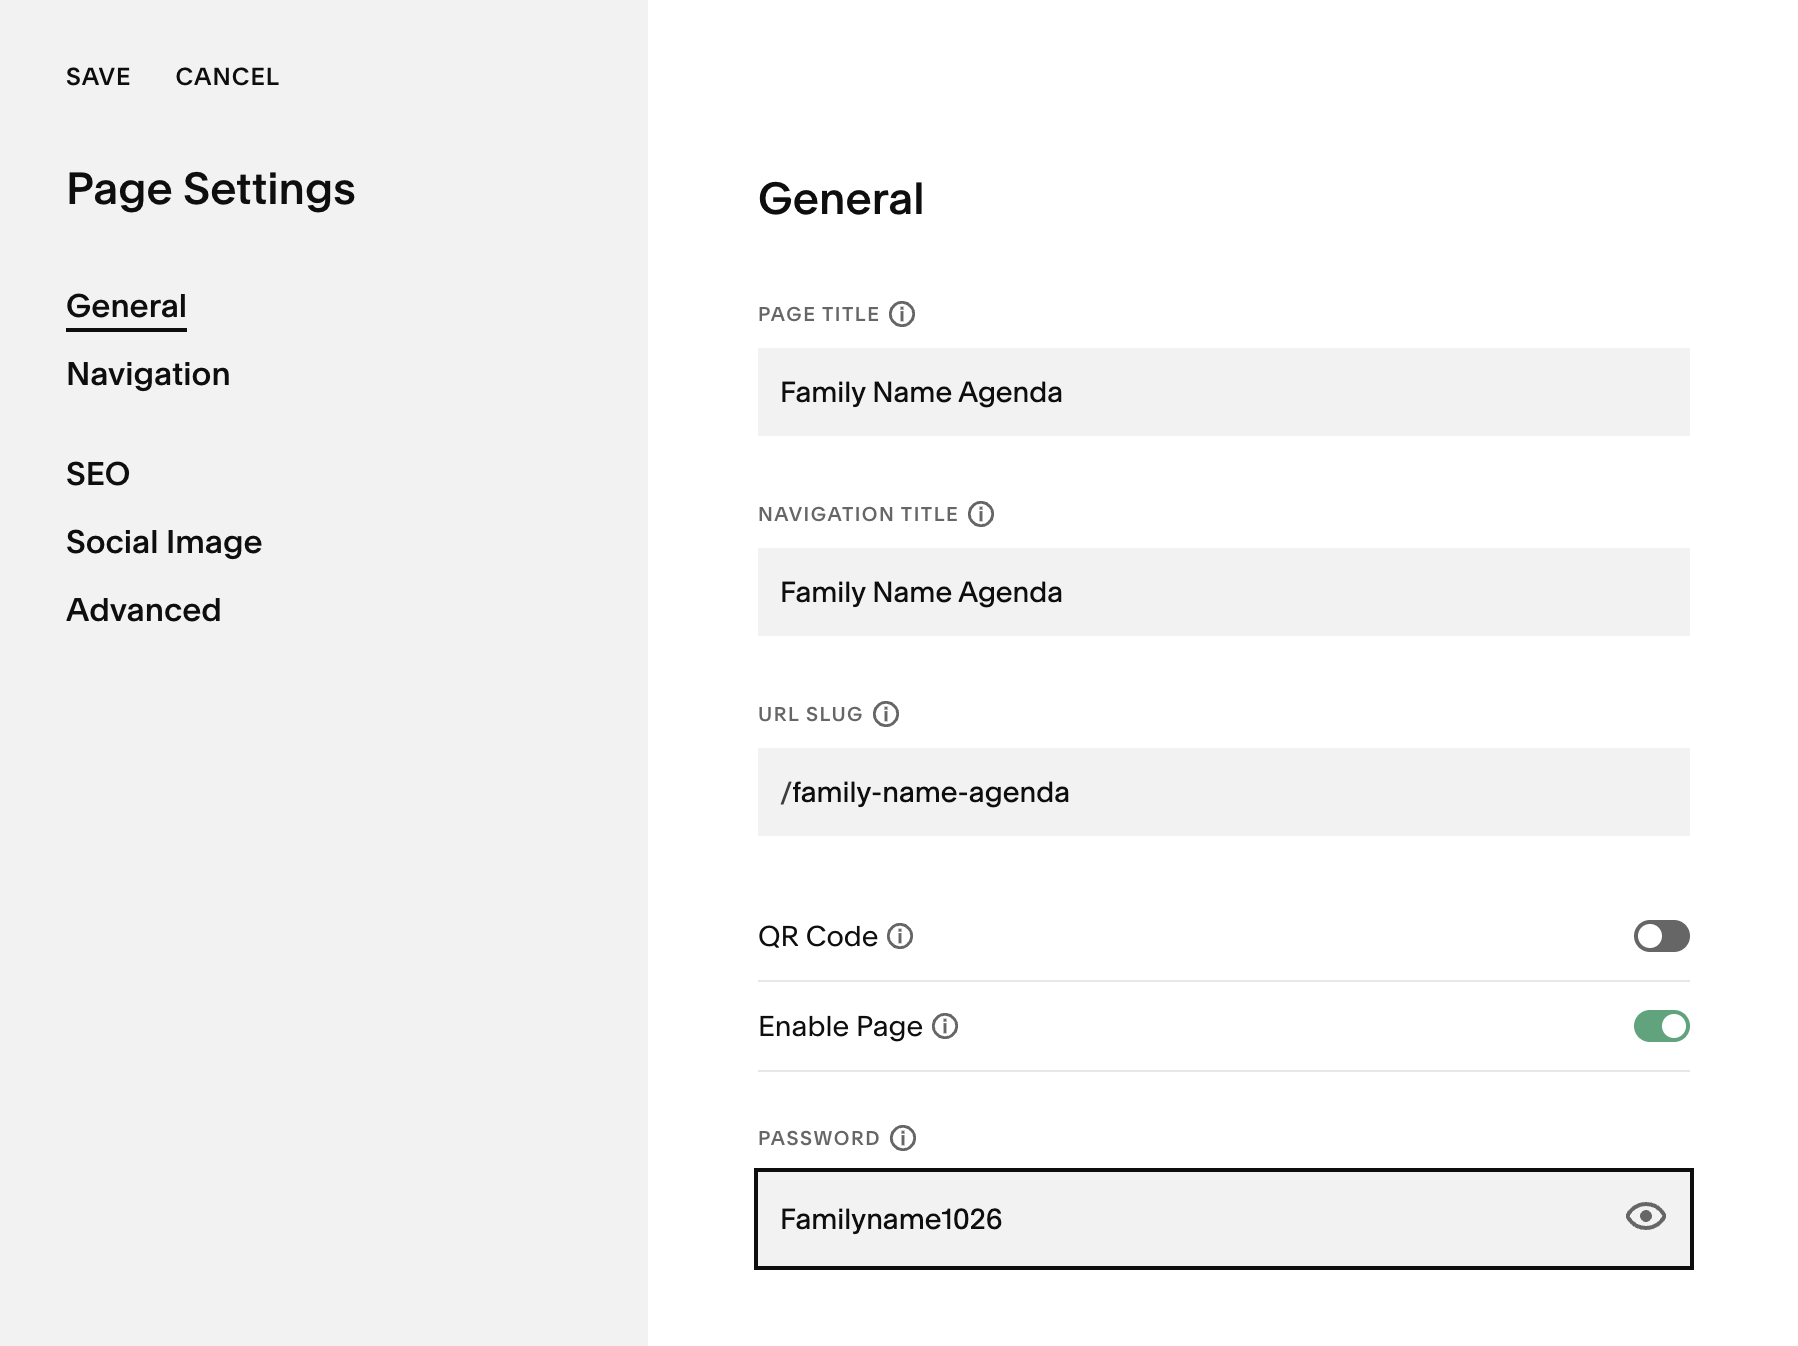
7. A new page will appear called Sample Agenda (copy). Click on the gear icon to the right of this. In the dialog box that pops up, make the following field changes:
Page Title > [Family Name] Agenda
Navigation Title > [Family Name] Agenda
URL slug > /family-name-agenda (note that this is all lowercase, and spaces are replaced with dashes)
Password> Follows this convention: Familyname1026 (The family name with an initial cap, the first digits of the numeral are the number of letter in the family name, the second part is 26.)
Click Save in the upper left hand corner.
8. Now that the page is created, you can edit the text as you would on any other page, as per the instructions in the earlier section. (See “How to edit Text” section above.)Please note the designation for individual activities is accompanied by a paragraph indent. To achieve this, select the paragraph to indent, then click on the thick Quote marks in the editing bar that appears. You may need to click on the More icon (…) if it does not show up automatically. When edits are complete, in the upper left hand corner, click Save and Exit.
9. To link the agenda to the appropriate name on the Guest List page, first select Guest List from the pages on the left side menu. Click Edit, then highlight the Guest Name entry, click on the link icon in the edit bar, and select the page with the appropriate agenda title. For detailed steps, see “How to add a Live Link” section above.
Printing or Sharing Guest Agendas
From the live site, NOT the editing site, go to the individual guest agenda page.

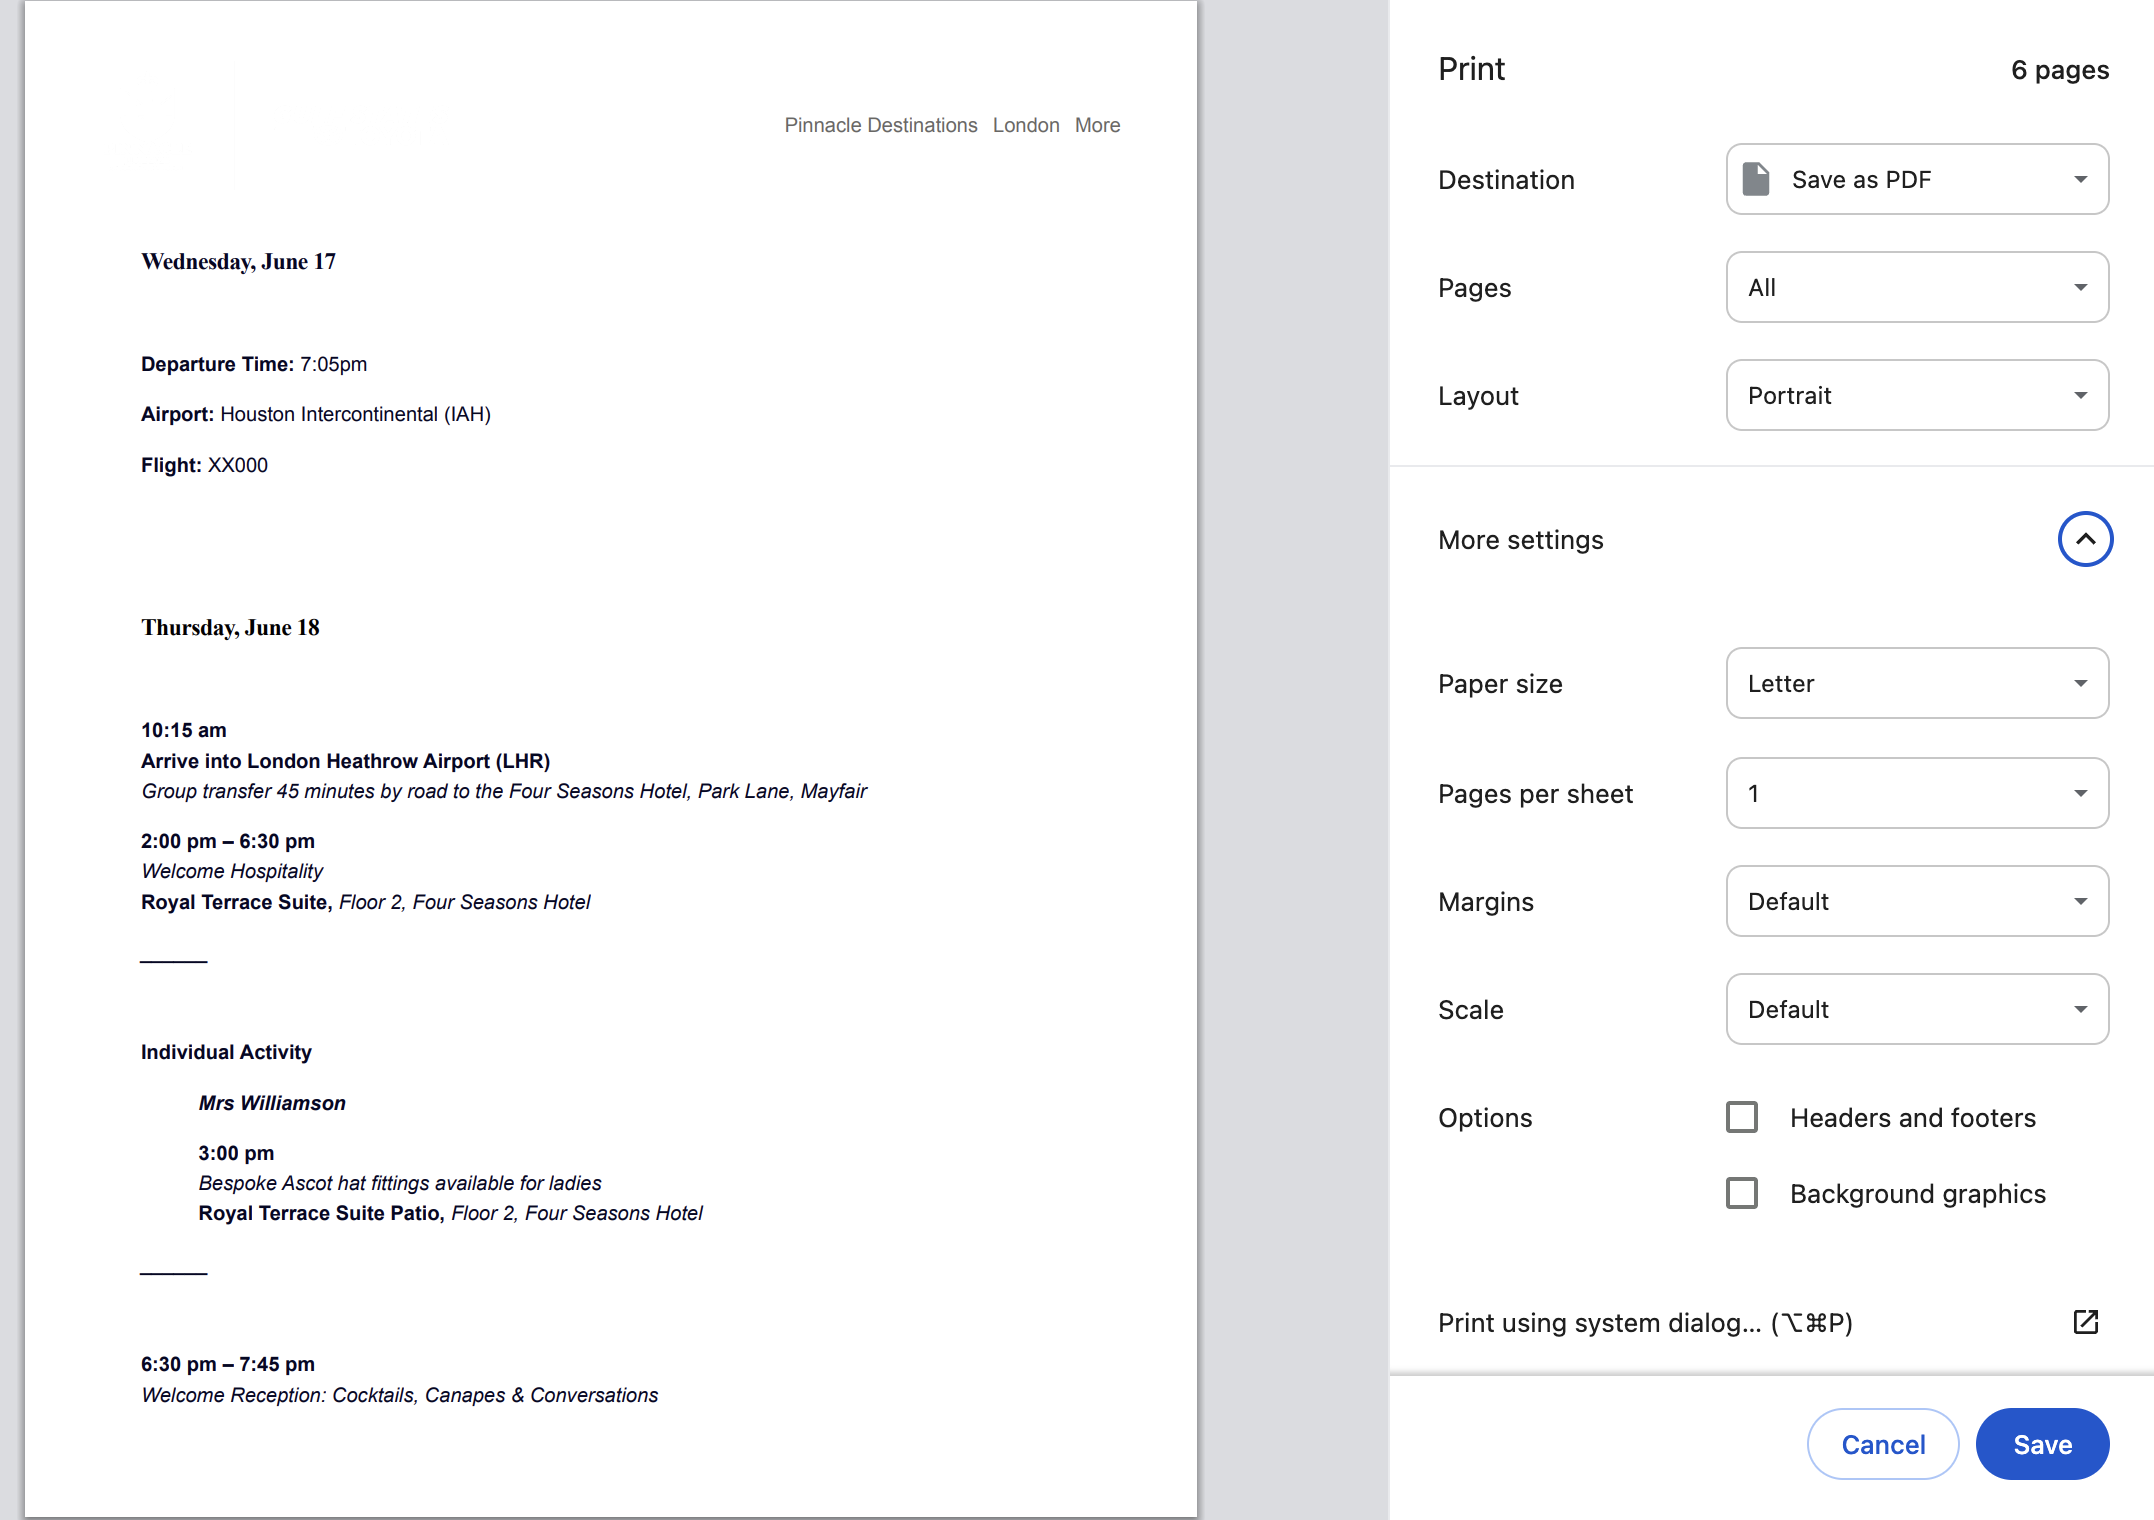
2. To print, use the key command on your computer to print, making sure next to Options, Headers and footers is unclicked, as is Background graphics.
To save and email later, in the print dialog box, by Destination, select Save as PDF.
How to add to the FAQs
1. Under Pages in the left hand column, go to FAQ.
2. Click Edit in the upper left hand corner.
3. !!!IMPORTANT!!! Scroll to the bottom of the page. ONLY ADD TO THE BOTTOM OF THE PAGE.
4. Holding down shift, select the last line, the last number, the last title and the last entry. Blue outlined boxes will appear around selected items.
5. A little box will show up. In this box, click on the icon that looks like two squares on top of each other. DO NOT click on the same icon that appears in the box that says “Edit Section”.